
Yes, you can absolutely build a retaining wall if it is under 3-4 feet. However, if you are planning a wall taller than this height, then you need to look at permits and engineered drawings as per your municipality’s rules.
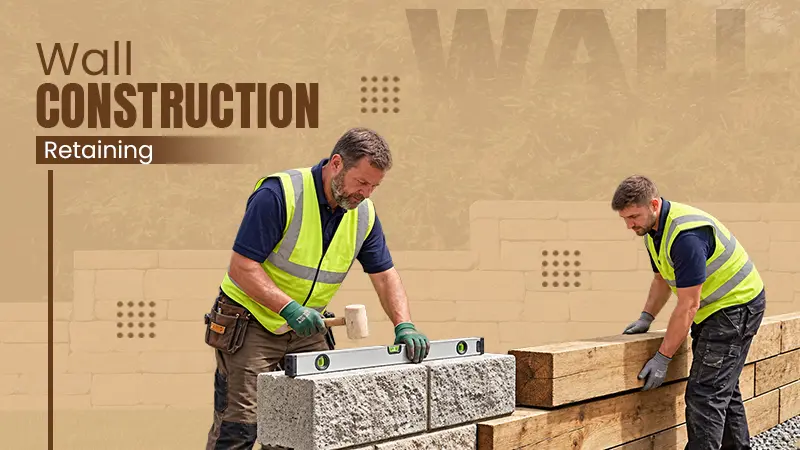
Having a backyard slope or an eroding garden bed can quickly affect the overall appearance and charm of your landscape, and fixing the issue might require a little more than stacking a few blocks or bricks together.
Having a retaining wall allows you to enhance the overall charm of your landscape, but knowing how to build a retaining wall requires you to understand what is happening beneath the surface, such as soil pressure, water movement, and structural load working together. Even getting one element wrong can result in the wall shifting, cracking, or even collapsing in one season.
So, if you are thinking of how to build a retaining wall, then we at Wallinsiders.com will make sure that you have a complete guide to every step that you need to take.
Table of Contents:
Planning the wall before digging
If you are building a low retaining wall, you can start; however, if you are planning a wall over 3-4 feet, you need to check the local guidelines, as many areas need a permit or even a plan for a wall over this height.
Before you start digging, you need to take a look at the scope, the conditions of the soil, and the height difference you want the wall to handle. A wall that is constructed on a slope can end up looking taller than intended.
Now, you need to mark the location of the wall and check all underground utilities before the excavation starts. If there are any pipelines running under the ground, then you need to check with the respective officials. Many people often skip this step, but not following it through can result in bigger issues in the future.
Wall height and foundation depth
The height of your wall also depends on the depth of the base. Usually, the ⅓ rule is followed, which means that around one-third of the total height of the wall needs to be under the ground.
The buried section of the wall assists in handling the pressure from the soil. Taller walls push harder against the ground, which is the reason why they need more support. Before you start digging the base for the ground, you need to measure the height difference, mark the wall path, and make sure that the plan fits your site.
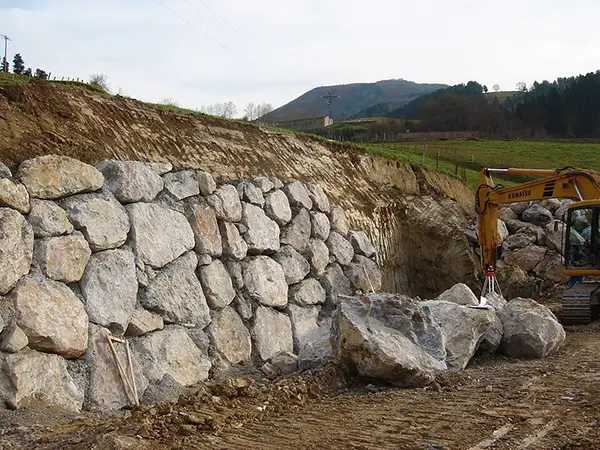
Building a Retaining Wall
Building a retaining wall is not as difficult as you think. All you need to do is adhere to the instructions that we are giving here to build a retaining wall.
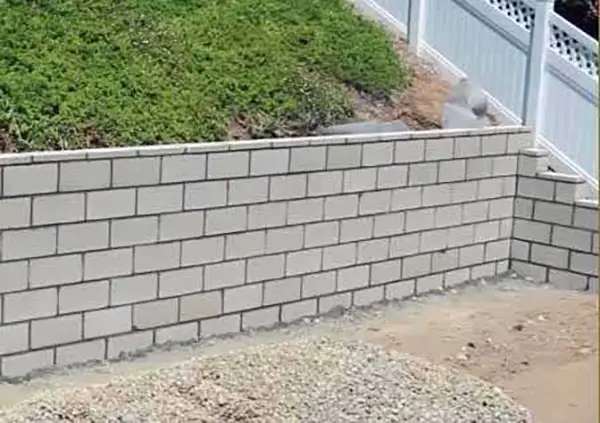
Tools and Materials Required to Build a Retaining Wall
To DIY a retaining wall, there are certain important materials and tools that you need. You need to have these tools and materials at hand if you want to know how to build a retaining wall on a slope.
- Retaining wall blocks and concrete adhesive: These do the heavy lifting, holding your wall and the corners tight.
- Crushed gravel or a paver base, plus landscape fabric: To set a solid, level foundation and stop soil from gumming up your drainage.
- A perforated 4-inch drain pipe: To carry water away and lower pressure behind the wall.
- Level and string line: To keep everything straight and true.
- Tamper or plate compactor: To press down gravel so your wall won’t settle later.
- Shovel and a rubber mallet: To dig your trenches, nudge blocks into place, and protect the blocks from chips.
- Hand level and rubber mallet: To get the blocks even and in line.
- Concrete saw with a diamond blade: To cut around any tricky corners or curves.
With these tools and materials at your hand, you can start the process of retaining wall construction on your own.
Step 1: Plan and mark your wall
Start by marking out where your wall will go. Use stakes, a string, and a line level. Wrap the string around the area, making a straight line to check for any height changes, so that you can plan your wall correctly.
Spray-mark paint along the trench outline, so you know where to dig. Find the lowest spot along your layout, and leave extra room behind the wall for drainage gravel and the pipe.
Step 2: Dig your trench and prep the base
Dig the trench for your first layer of blocks. Get rid of loose soil, and level the bottom until it’s smooth and sturdy. Next, you need to pour in your base gravel. Compact it really well before you set any blocks on top. Skip the sand, as it shifts and won’t support your wall nearly as well.
Step 3: Let the first layer set
Lay your first row of blocks straight onto the compacted base. Check each block, front to back and side to side, and keep at it until they’re all perfectly level. There is no need for you to rush here, as this row sets up everything above it. Fix small problems now, and you won’t face bigger ones later.
Step 4: Stack blocks and install drainage
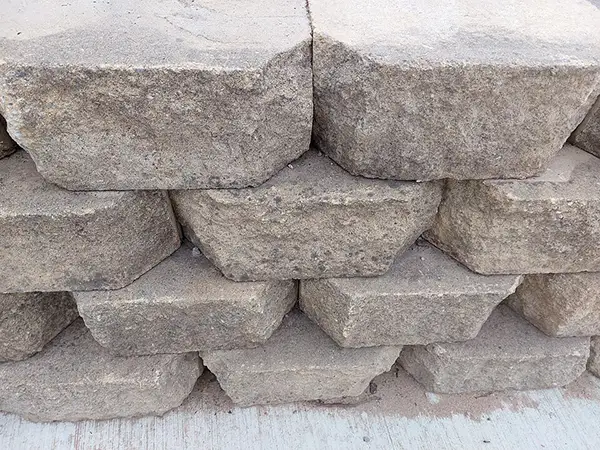
Keep stacking the blocks for retaining wall installation. Make sure the joints are staggered on every new row, like a brick wall. Keep double-checking your alignment and the slight “lean” (called a setback) into the soil.
As you build up, lay your drain pipe behind the wall. Surround it with clean gravel, wrapping the whole thing in landscape fabric to stop soil from plugging up the pipe.
Step 5: Backfill and compact the wall
Start adding backfill once your drainage pipe is in and protected. Use clean gravel right behind the blocks for drainage, then fill in with dirt farther out. Good drainage keeps your wall strong.
Add backfill in layers, about 6–8 inches at a time. Compact each layer before adding the next. That keeps things stable and lowers pressure on the wall.
Step 6: Cap and finish
Lay cap blocks across the top. Where needed, cut the blocks to fit neatly around corners or curves, and glue them down with construction adhesive.
Lastly, you need to grade the soil behind your wall to send water away, not toward the wall. If you finish with good drainage and everything tidy, your wall will last for years.
Common Mistakes to Avoid
The process of DIY retaining wall will be entirely smooth for you if you avoid a few common issues. These issues make all the difference between a wall that lasts a long time and a wall that shifts, cracks, and falls.
Avoiding Base Preparation
One of the most important things that you should not avoid while building a retaining wall is skipping base preparation. You should never place the blocks directly on soil, as a compacted gravel base creates the stability that you need for a long-lasting wall.
Rushing the first course
The first row is the base of the entire wall, which is why you need to check and recheck every block for its level and alignment because a single mistake here can disrupt the entire process.
Ignoring drainage behind the wall
Water buildup behind the wall creates pressure against the blocks. This is the main reason you should install clean gravel and a perforated pipe to direct water away from the wall.
Using the wrong materials
You should avoid using landscape blocks or sand as the foundation of your DIY retaining wall. Having proper blocks and crushed gravel will provide you with the correct support.
Conclusion
Learning and understanding how to build a retaining wall correctly means having the correct understanding of what you cannot see under your soil. These instructions will make sure that your wall will stand for a long time without issues.
FAQs
Can you build a retaining wall yourself?
What is the ⅓ rule for retaining walls?
The ⅓ rule states that one-third part of the wall’s entire height needs to be under the ground as a part of the base. Let’s say you are planning a finished wall of 3 feet; then the base should be 12 inches underground to stabilize the forward pressure exerted on the wall.
Do I need wall drainage for a 3-foot retaining wall?
Yes. Whether you are building a retaining wall under 3 feet or over it, you need to have proper soil drainage. Saturated soil creates hydrostatic pressure, which can exceed the load capacity of the wall. A perforated pipe behind the wall or in the gravel stops this water from accumulating and pushing the wall forward.
Related Post
A Step-By-Step Guide to Building a Retaining Wall
Having a backyard slope or an eroding garden bed can quickly affect the overall appearance and charm of your landscape,…

Guide to Exploring the Best Drywall Alternatives for Your Walls
Drywall often emerges as a highly reliable option when you are looking for the best options for your walls. Drywall…
The Ultimate Kitchen Cabinet Refacing Guide
Transform your kitchen into a luxury space without the cost, mess, or weeks of disruption from a full tear-out remodel.…
What are the Stair Railing Height Requirements? Handrail and Guardrail Height for Safe Design
Have you ever wondered what the stair railing height should be in your home? Stair railing height is the vertical…
Drywall vs. Sheetrock: Types, Benefits, and Installation Cost of Drywall
Have you wondered about the hard material behind the beautiful walls and ceiling? Well, that is drywall or Sheetrock. While…

What is a Barndominium? Benefits, Floor Plans, and Cost Guide for Building a Barndominium…
In recent years, people have been looking for houses with more versatile design, functionality, and cost-effective construction with aesthetic appeal.…